

 23
23
Overview
A Job Hazard Analysis (JHA) is a safety planning tool used to identify potential hazards before work begins and define the controls required to perform work safely.
In Riskcast, JHAs are integrated directly into the timecard workflow, allowing crews to:
- Plan work safely at the start of the day
- Document hazards and controls
- Capture crew acknowledgment and signatures
- Maintain a digital record for compliance and reporting
The JHA feature in Riskcast helps teams:
- Plan work safely
- Standardize hazard identification
- Document compliance
- Improve visibility into field safety practices
When properly configured, it becomes a seamless part of your daily timecard workflow.
Important Notes Before You Begin
- JHAs are not enabled by default
- The feature must be requested and activated by your Riskcast Implementation Specialist or Product Expert
- Configuration is required at both the:
- Company level
- Project level
Step 1: Enable JHA at the Company Level
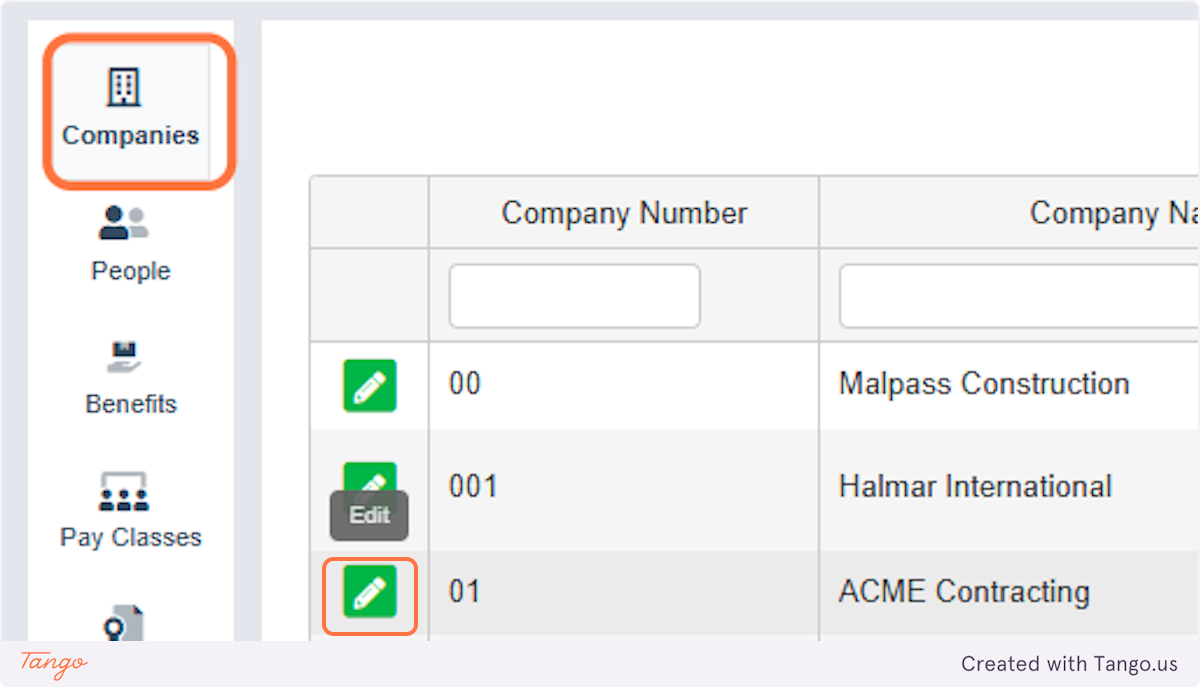
1. Click on Organization

2. Click on Companies and Edit
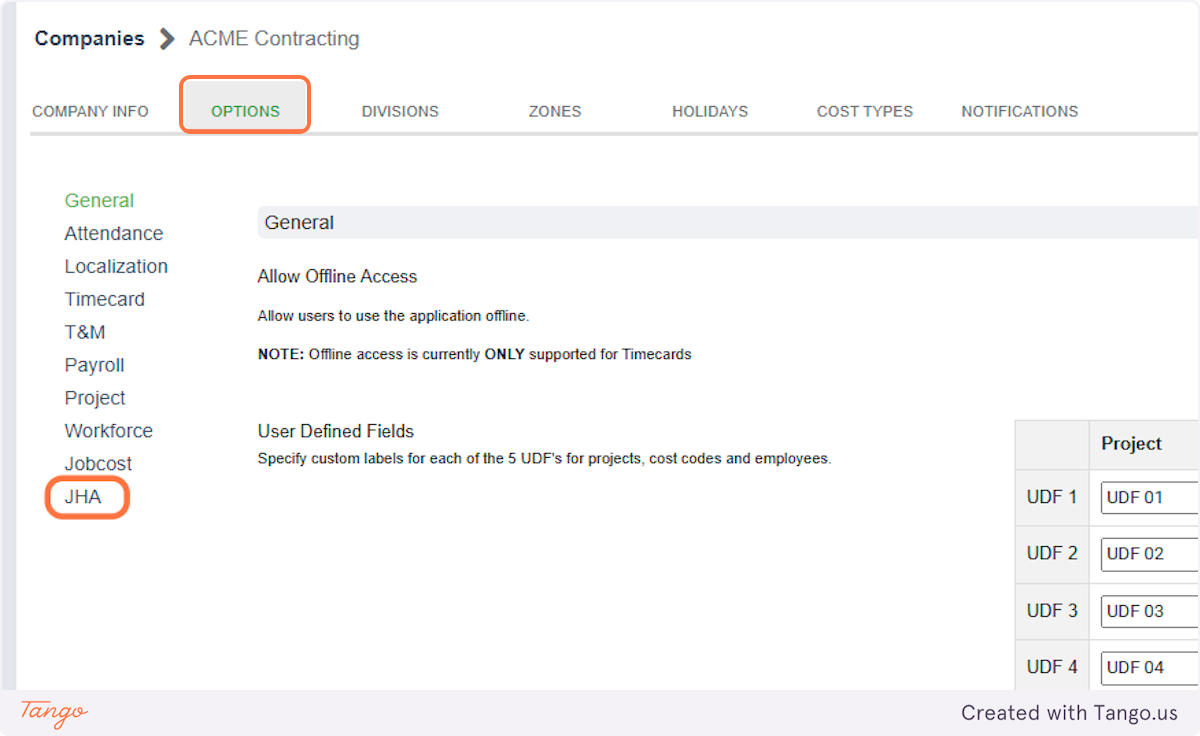
3. Click on OPTIONS and JHA
4. Configure settings as applicable and SAVE
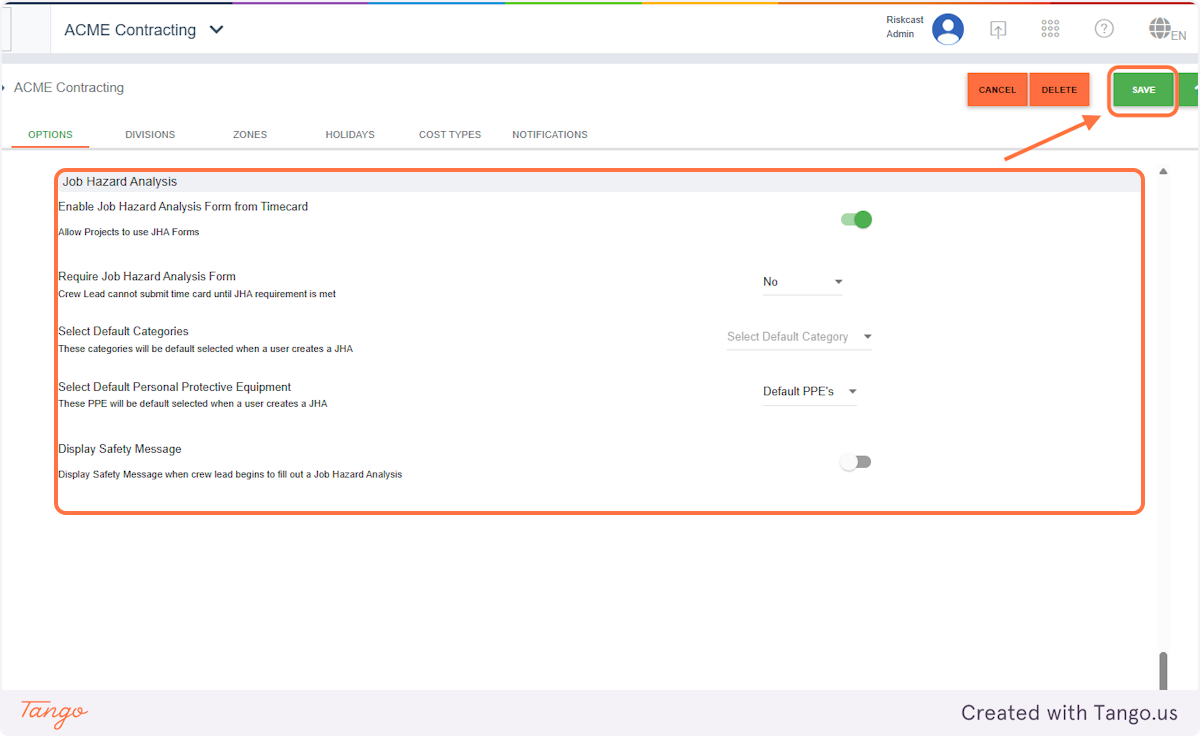
Key Settings
1. Enable JHAs from Timecard
- Allows users to create JHAs directly from timecards
- This must be enabled to use the feature
2. Require JHA Submission
Controls whether a JHA is required before submitting a timecard:
- No – Optional
- Yes (Created Only) – Must exist but can be draft
- Yes (Fully Submitted) – Must be completed and signed
3. Default Categories (Optional)
- Predefined types of work (e.g., Concrete, Electrical)
- Tip: Many clients leave this blank for flexibility
4. Default PPE (Personal Protective Equipment)
- Common defaults include:
- Hard hat
- Safety glasses
- High-visibility vest
- Gloves
- Steel toe boots
5. Safety Message (Optional)
- Displays when starting a JHA
-
Example: “Please review all hazards and PPE before beginning work.”
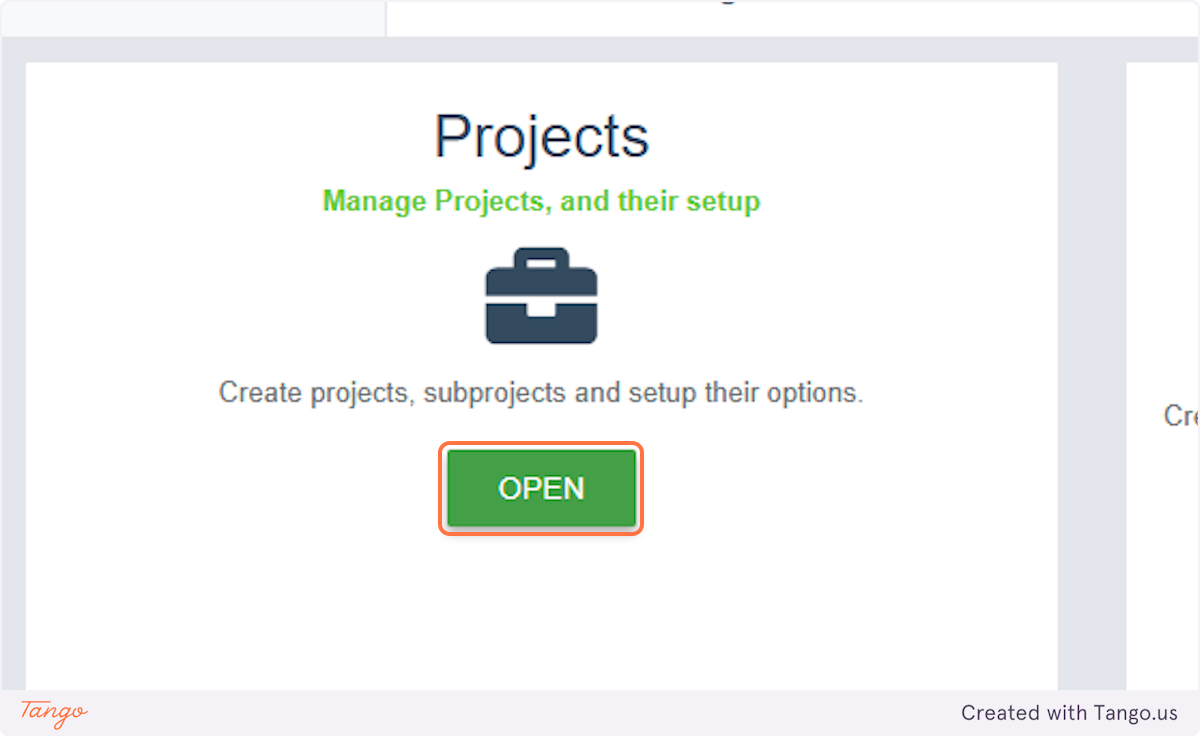
Step 2: Enable JHA at the Project Level
1. Click on OPEN
2. Click on Edit
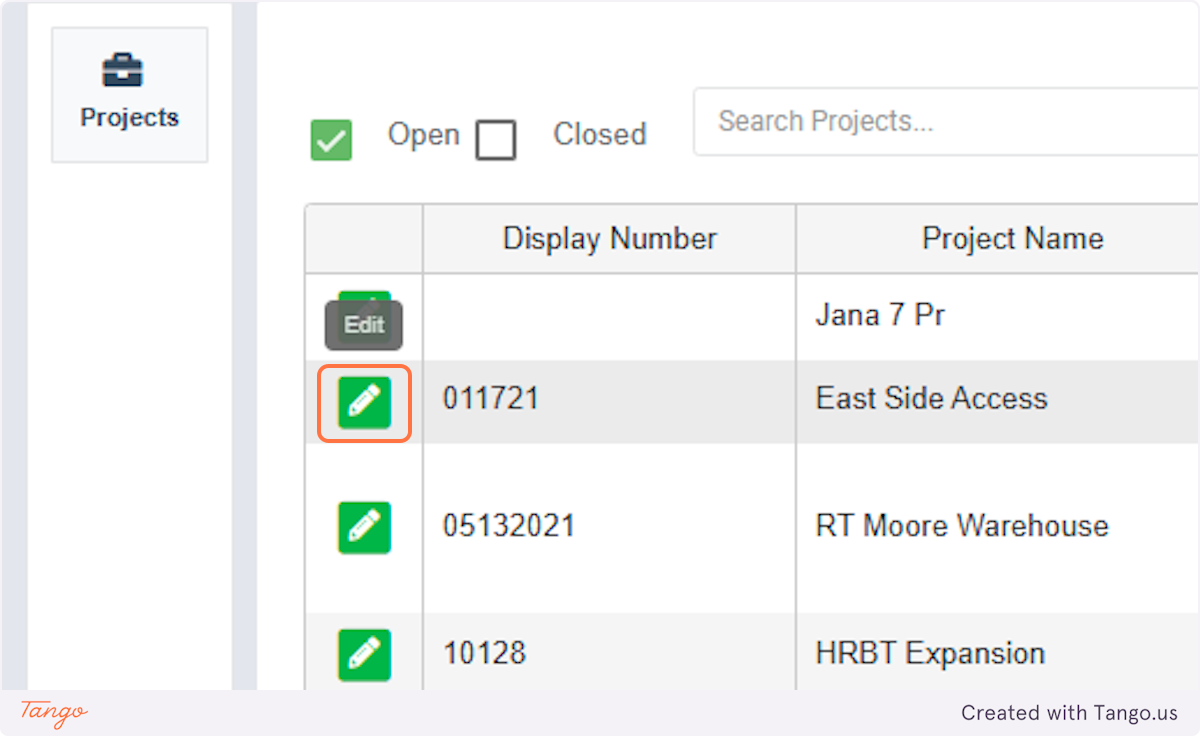
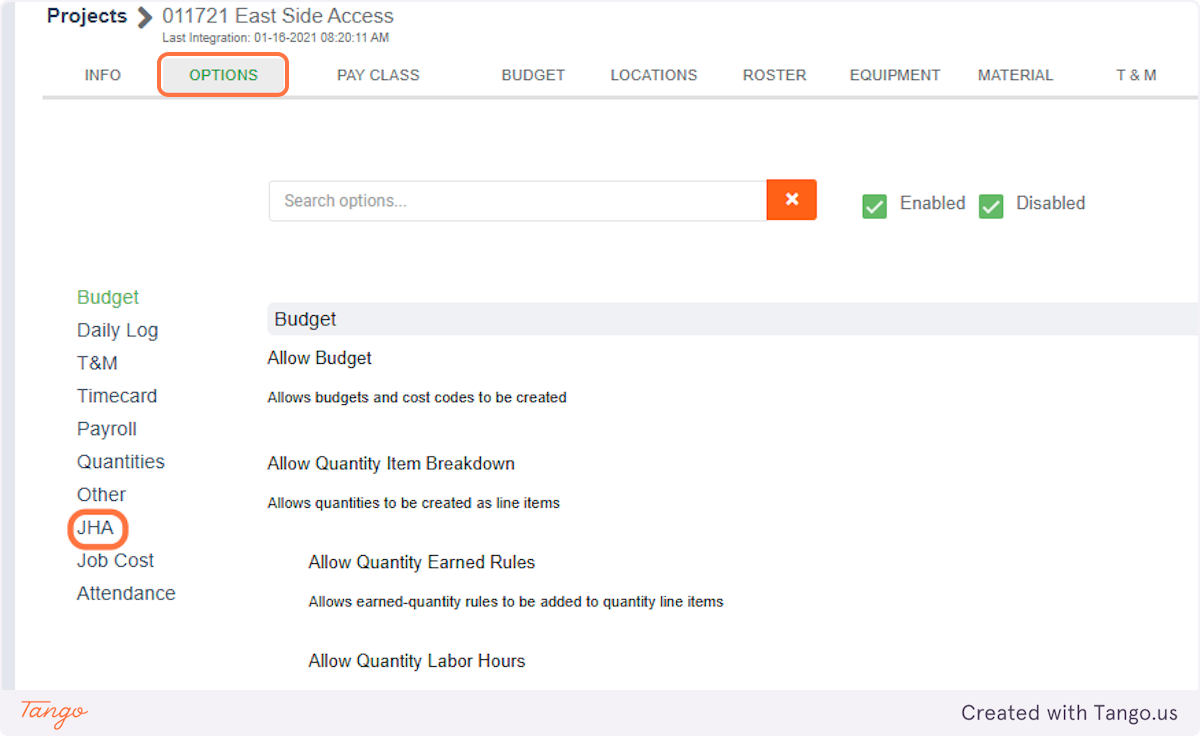
3. Click on OPTIONS and JHA
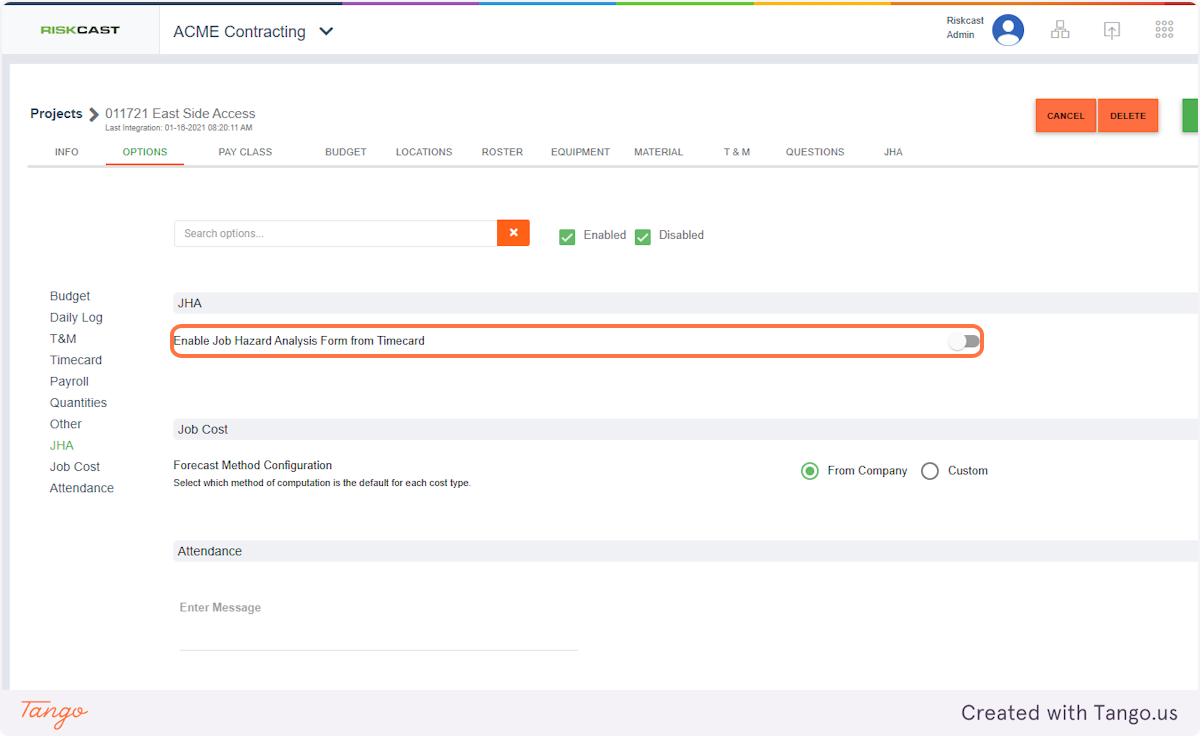
4. Enable "Job Hazard Analysis Form from Timecard"
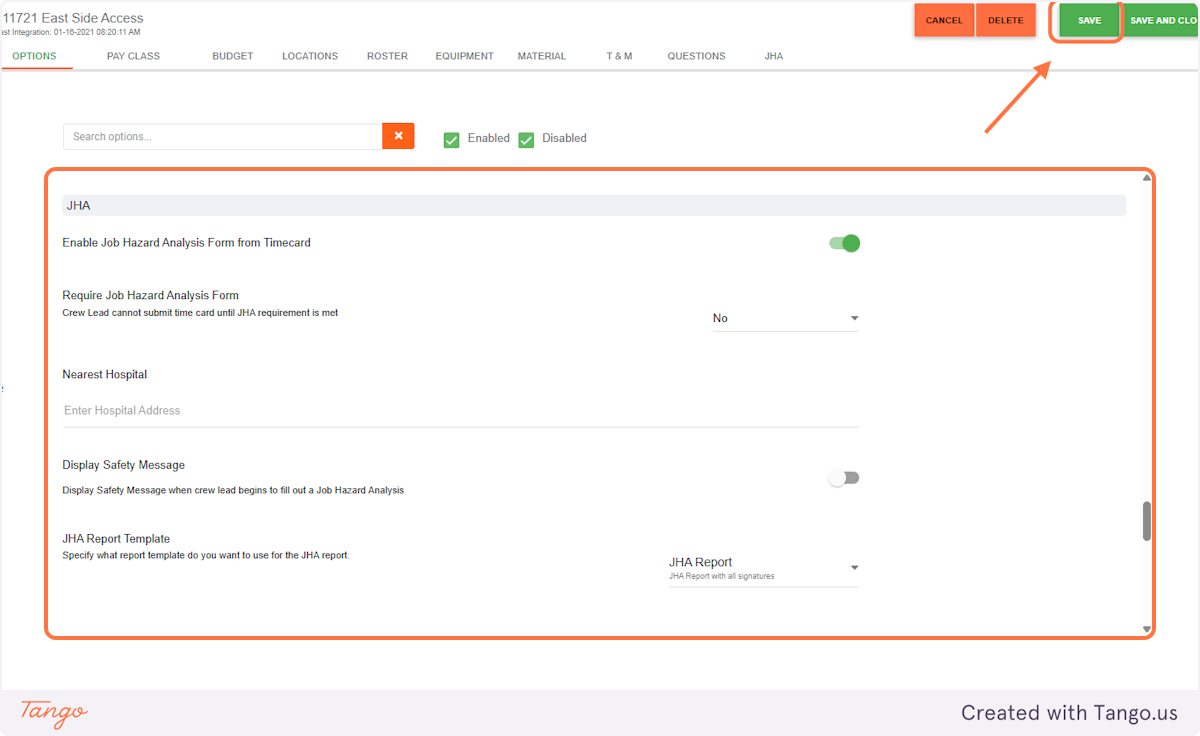
5. Configure settings as applicable and SAVE
Project Settings
1. Enable JHA for Project
- Activates JHA functionality for this project
2. Nearest Hospital
- Displays on the JHA form for emergency reference
3. Safety Message
- Inherit from company OR customize per project
4. Template Selection
- Choose:
- With signatures
- Without signatures
5. Distribution List
- Define who receives completed JHAs
- Example: Project managers, safety leads, etc.

