327
327
Within Riskcast you have the ability to create and manage vendors. These vendors can be utilized in various modules within our platform. The following article explains how vendors are created, then in what tools they can be used.
How to create a vendor
-
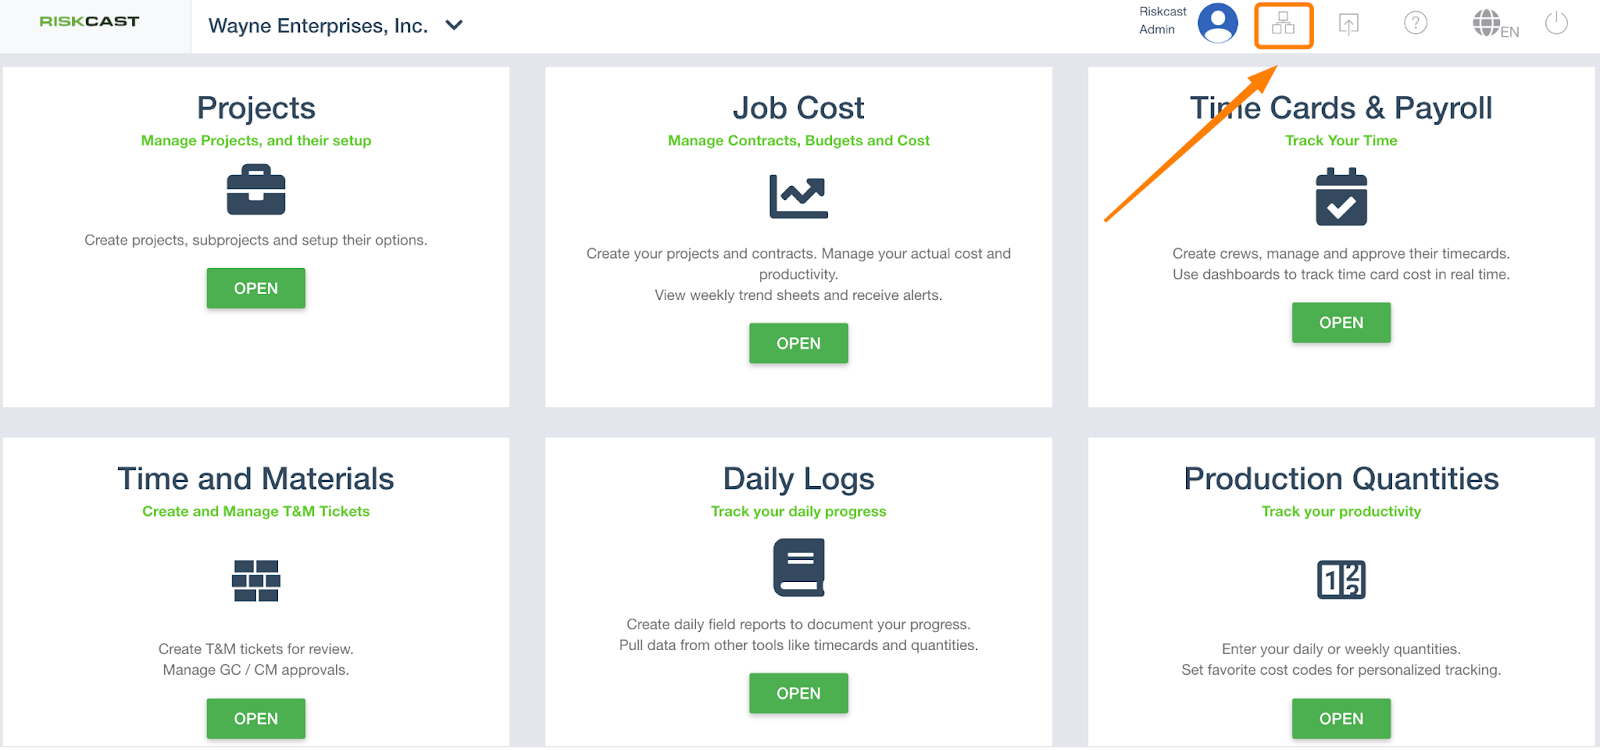
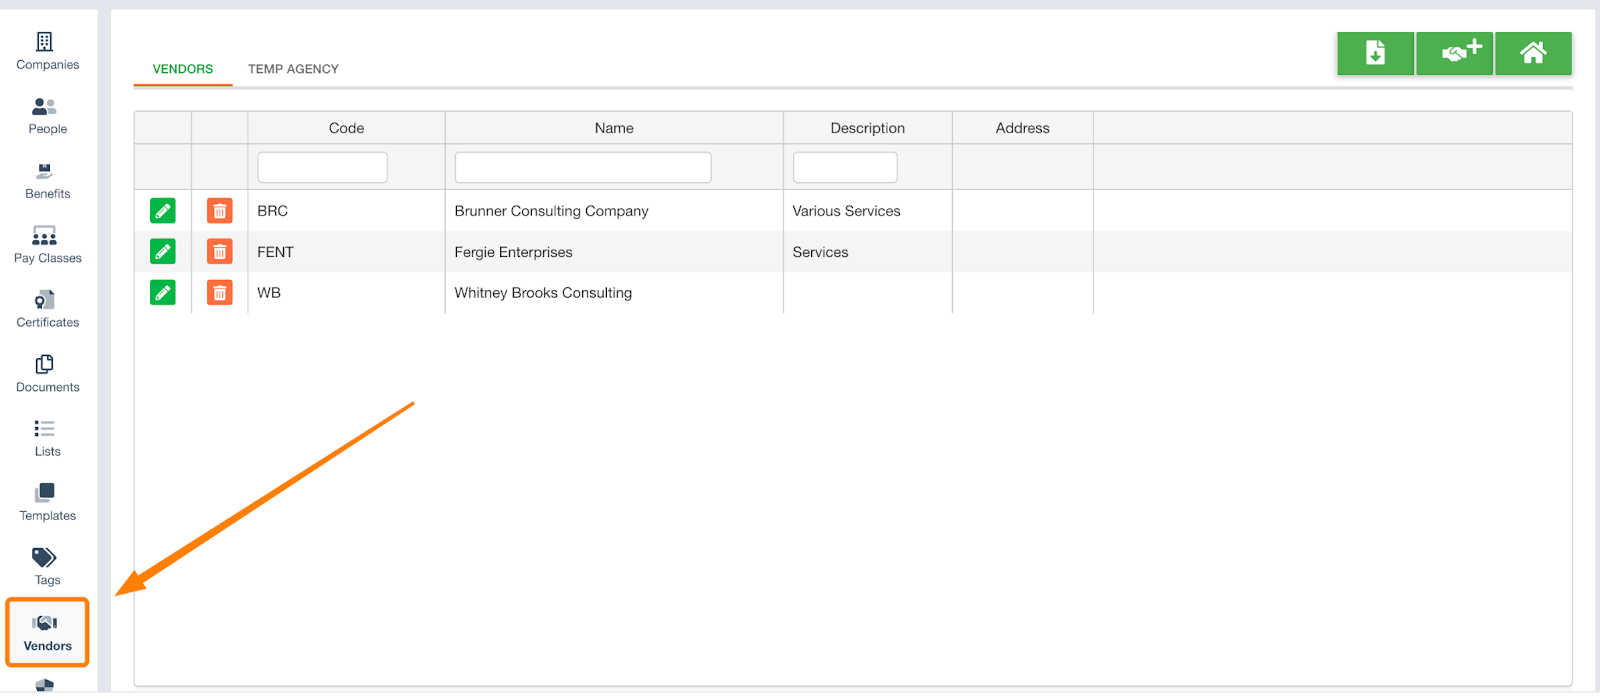
Open the organization tab
-
Click on vendors
-
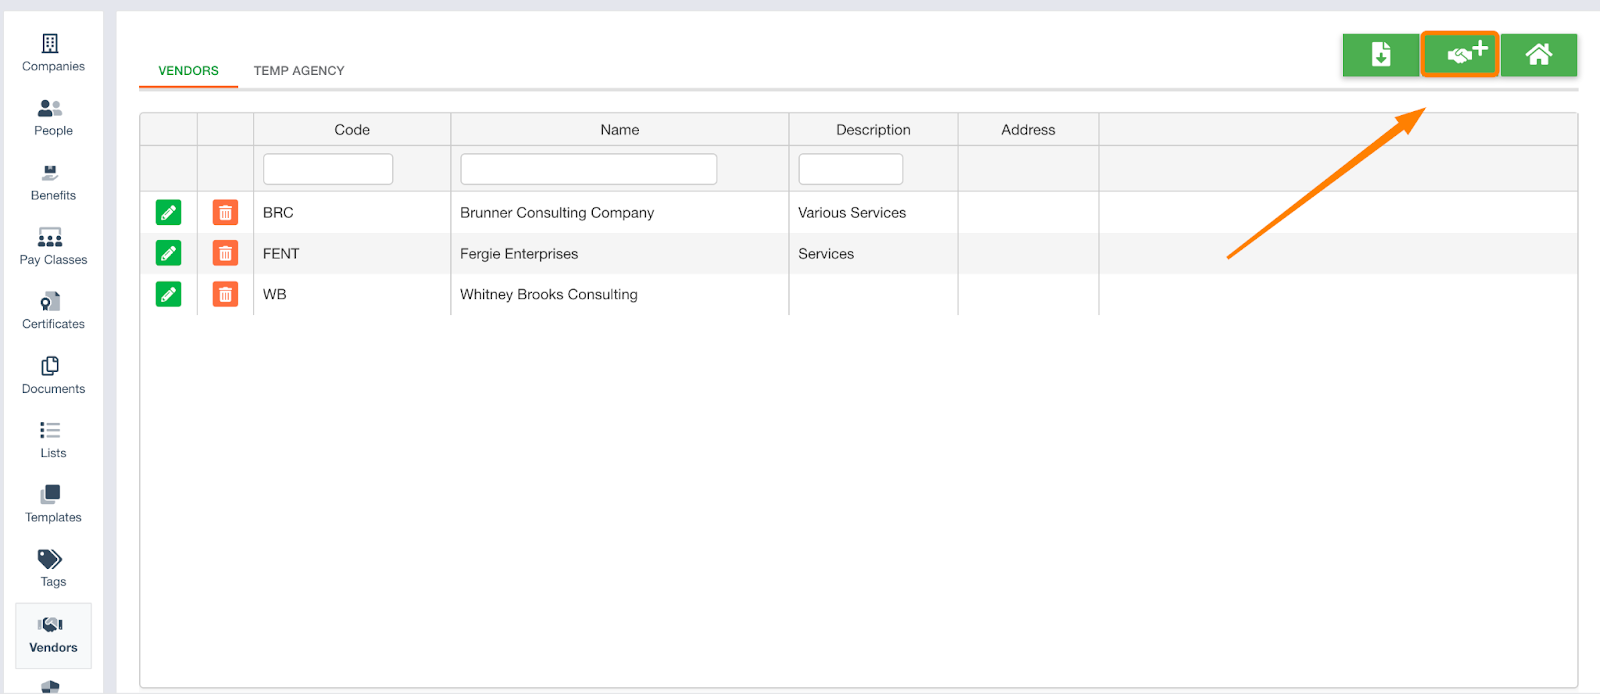
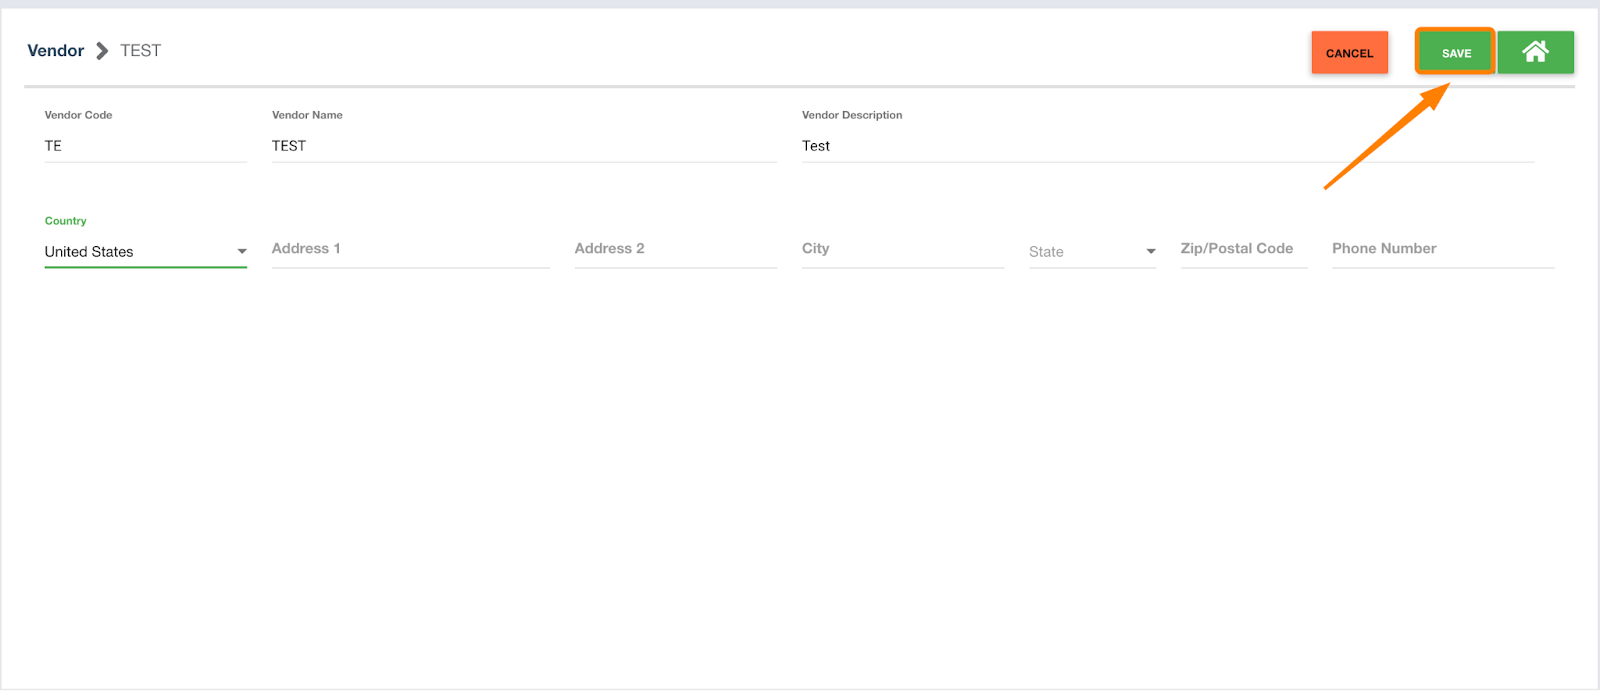
Click on the green plus sign in the top right corner to create a new vendor.
-
Add vendor code, name, and description. Click save when completed.
Where to Use These Vendors
Vendors can be used in different module within our system. Vendors are currently supported in sections of: Daily Logs, Time and Materials, and Job Cost.
Daily Logs
-
Open the Daily Logs module

-
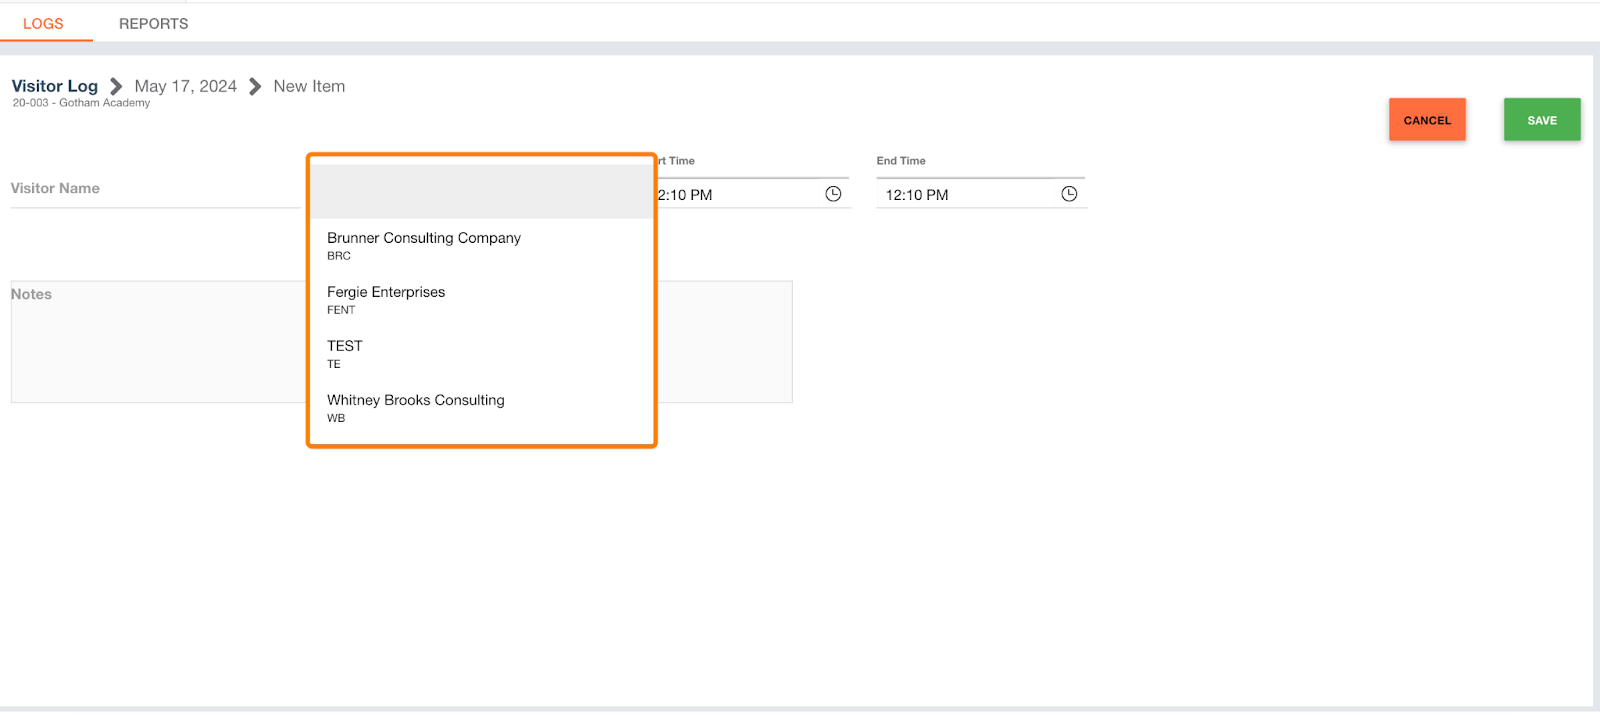
Click on the visitors tab

-
Click on the green plus sign to add visitors

-
Here you will be able to see the list of vendors
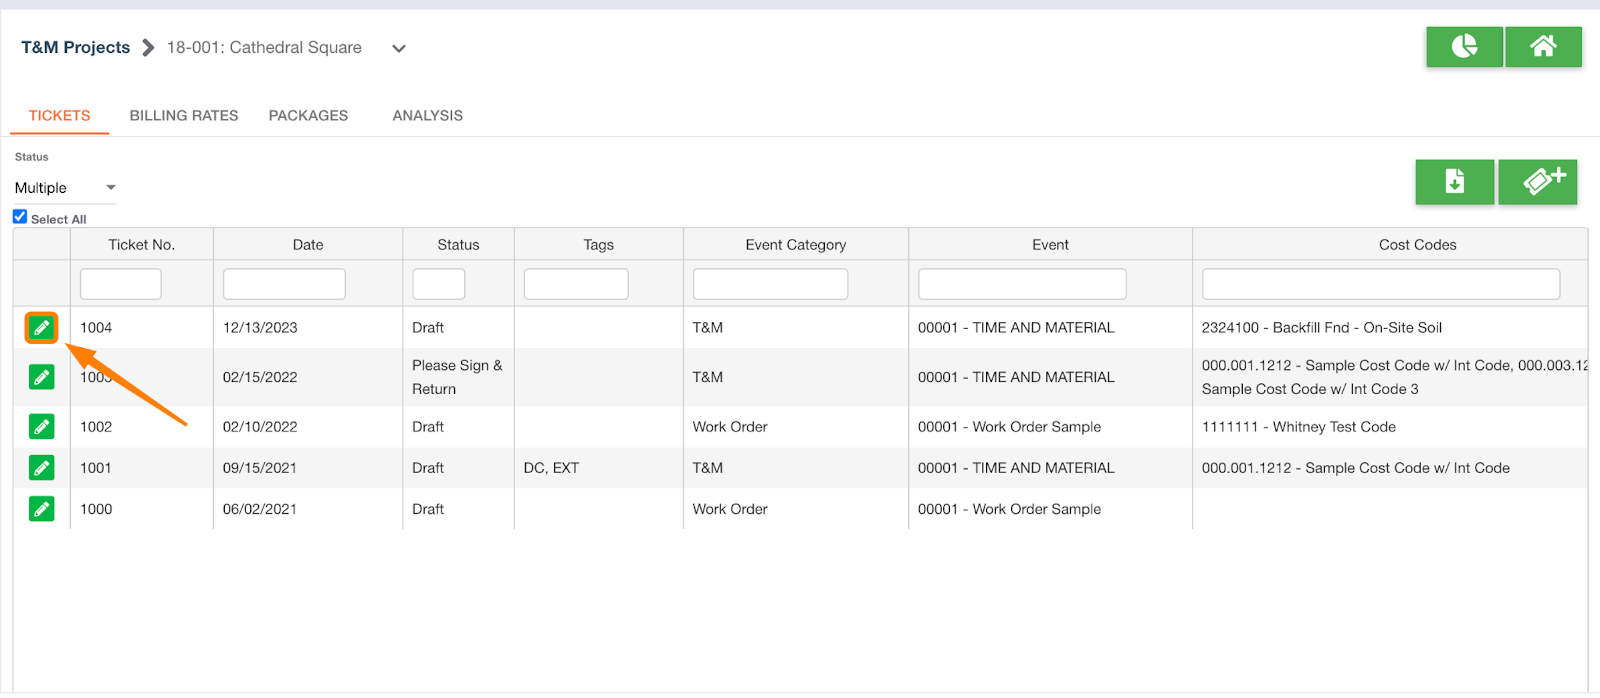
Time and Materials
-
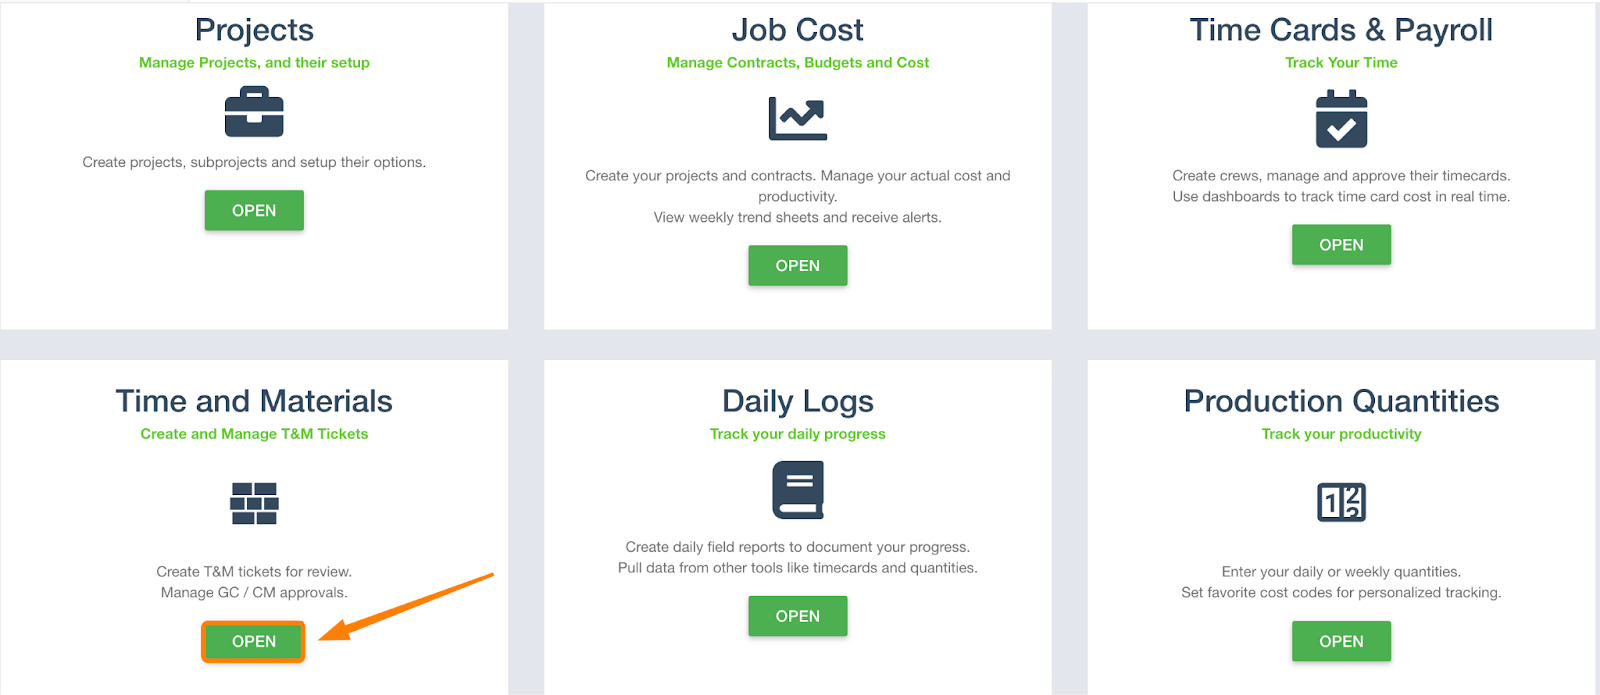
Open the Time and Materials module
-
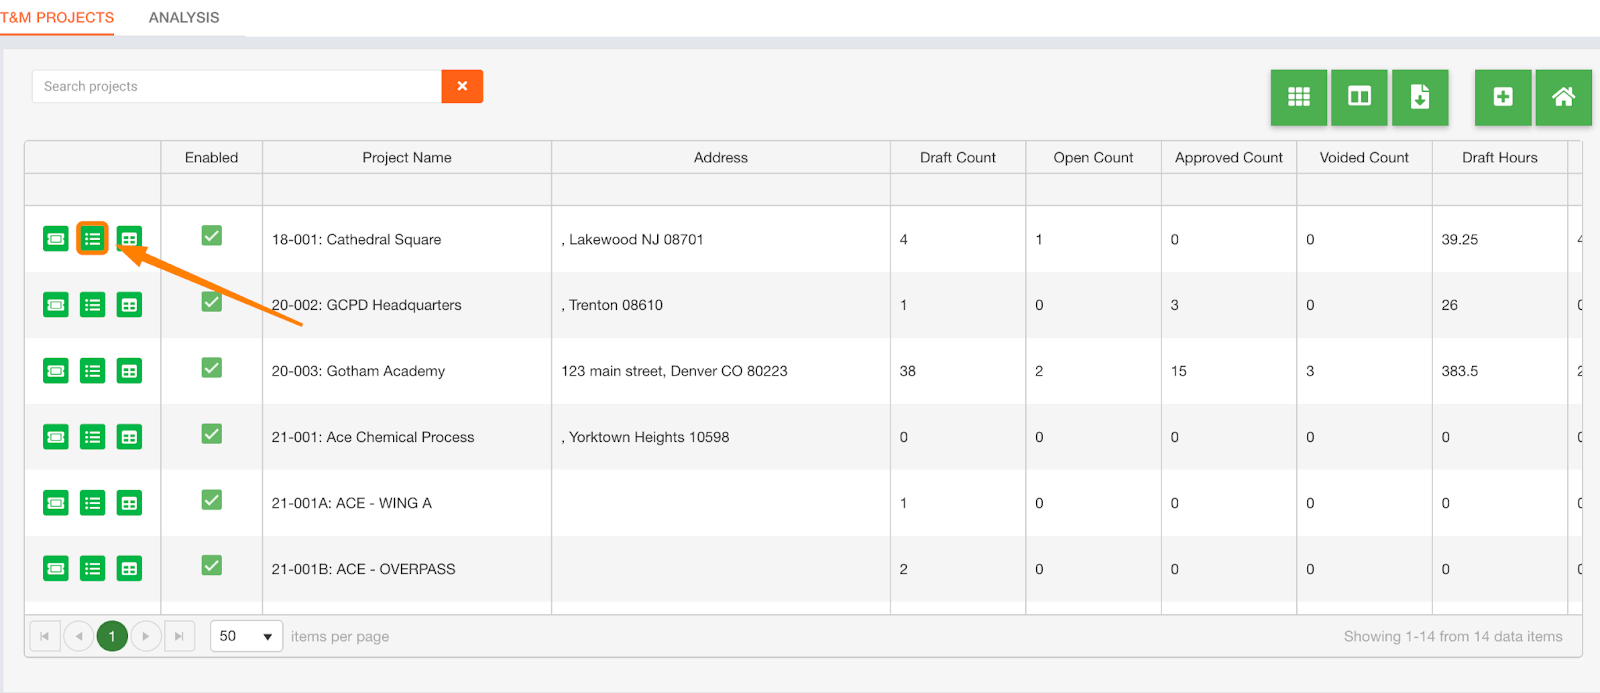
Open the desired ticket list
-
Click to edit ticket
-
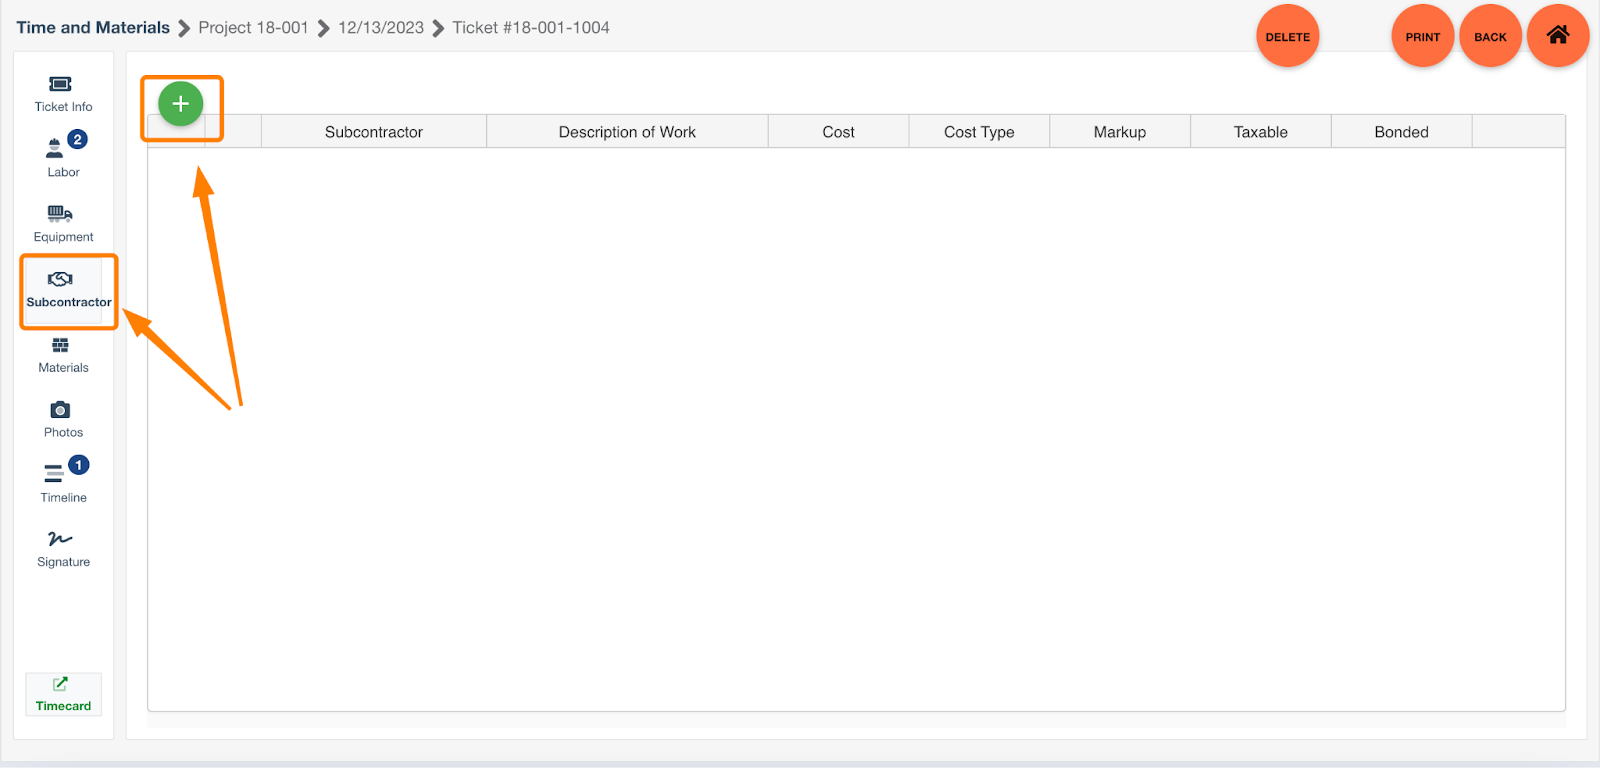
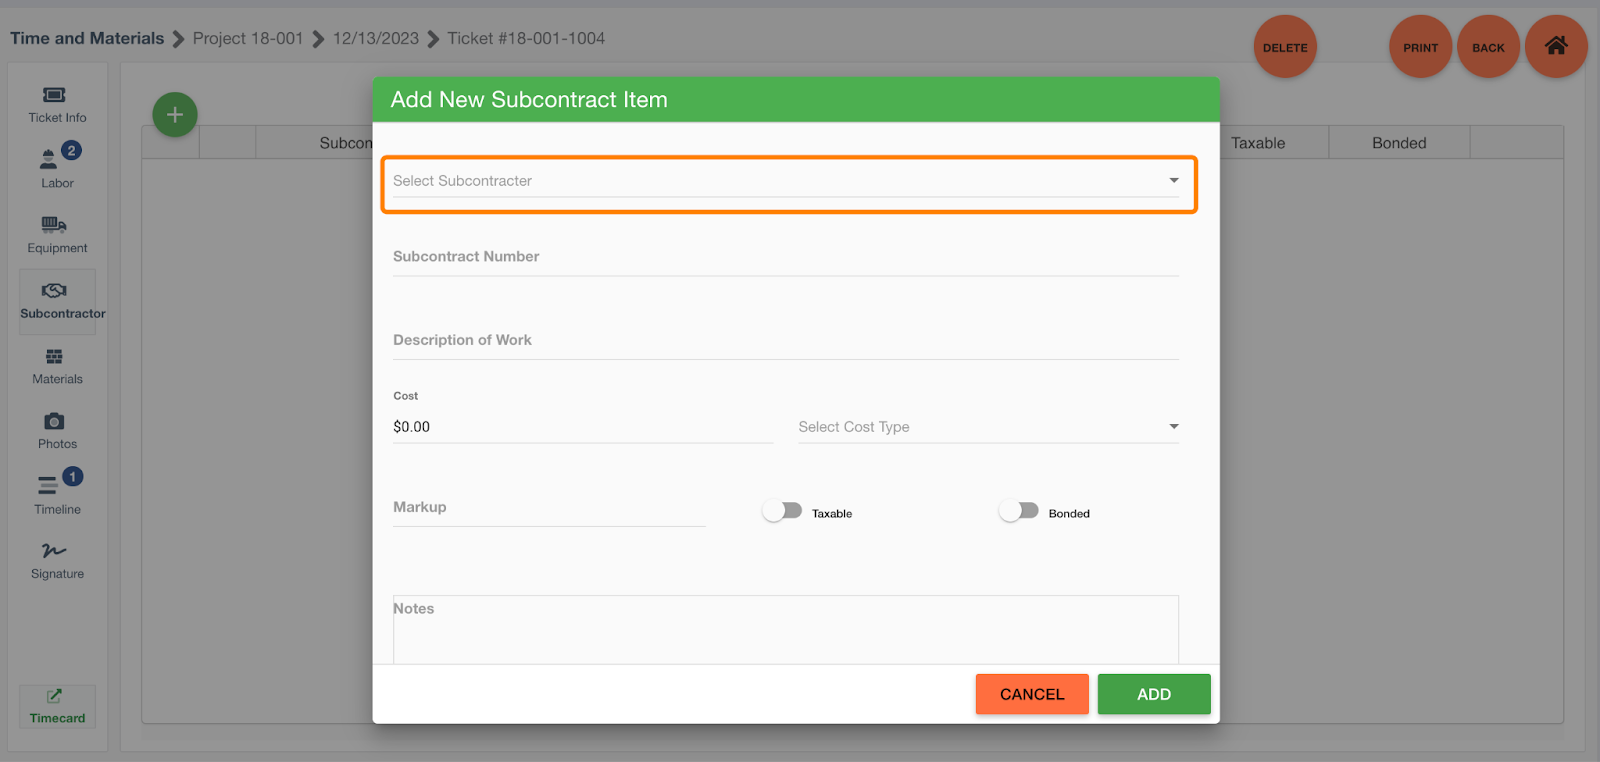
Open the subcontractor tab, then click on the green plus sign
-
Here you will be able to view the list of vendors
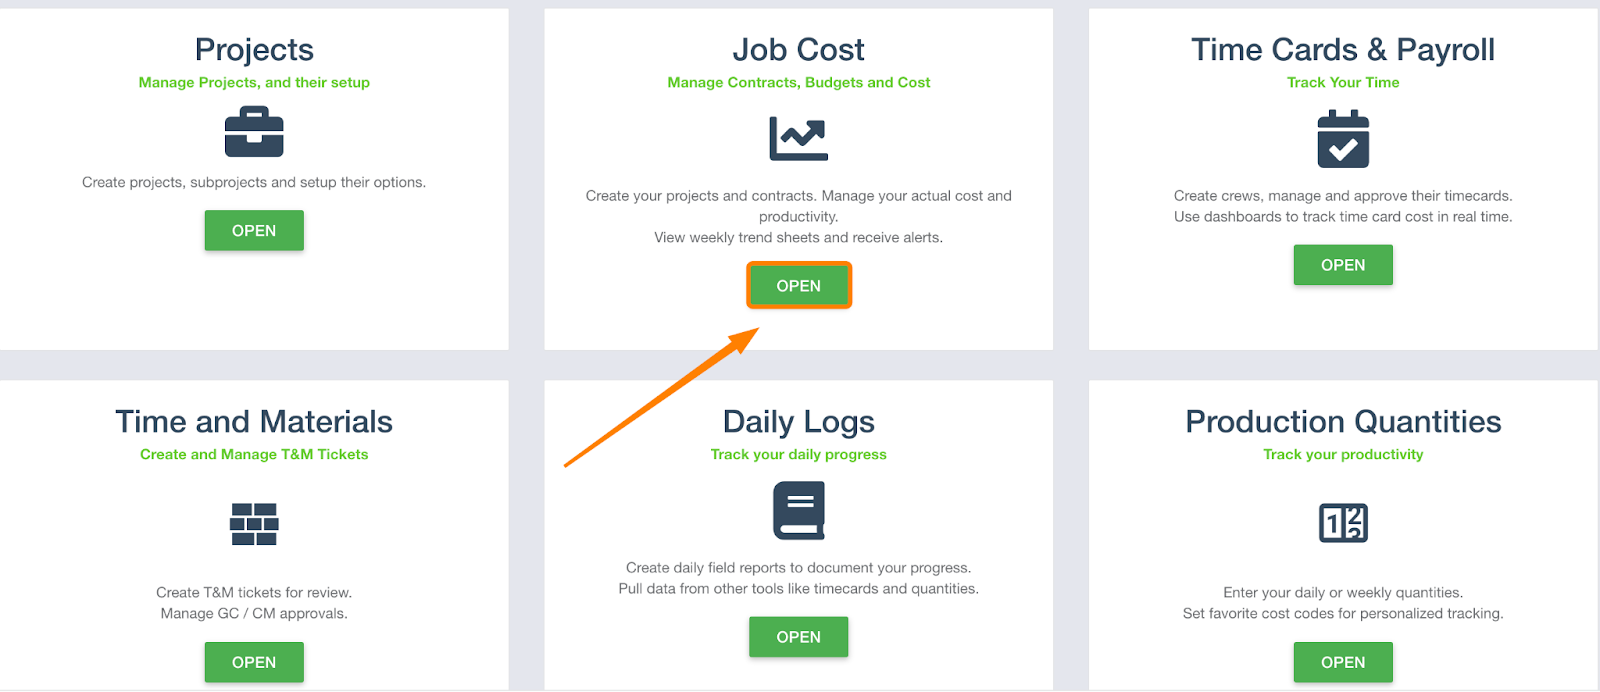
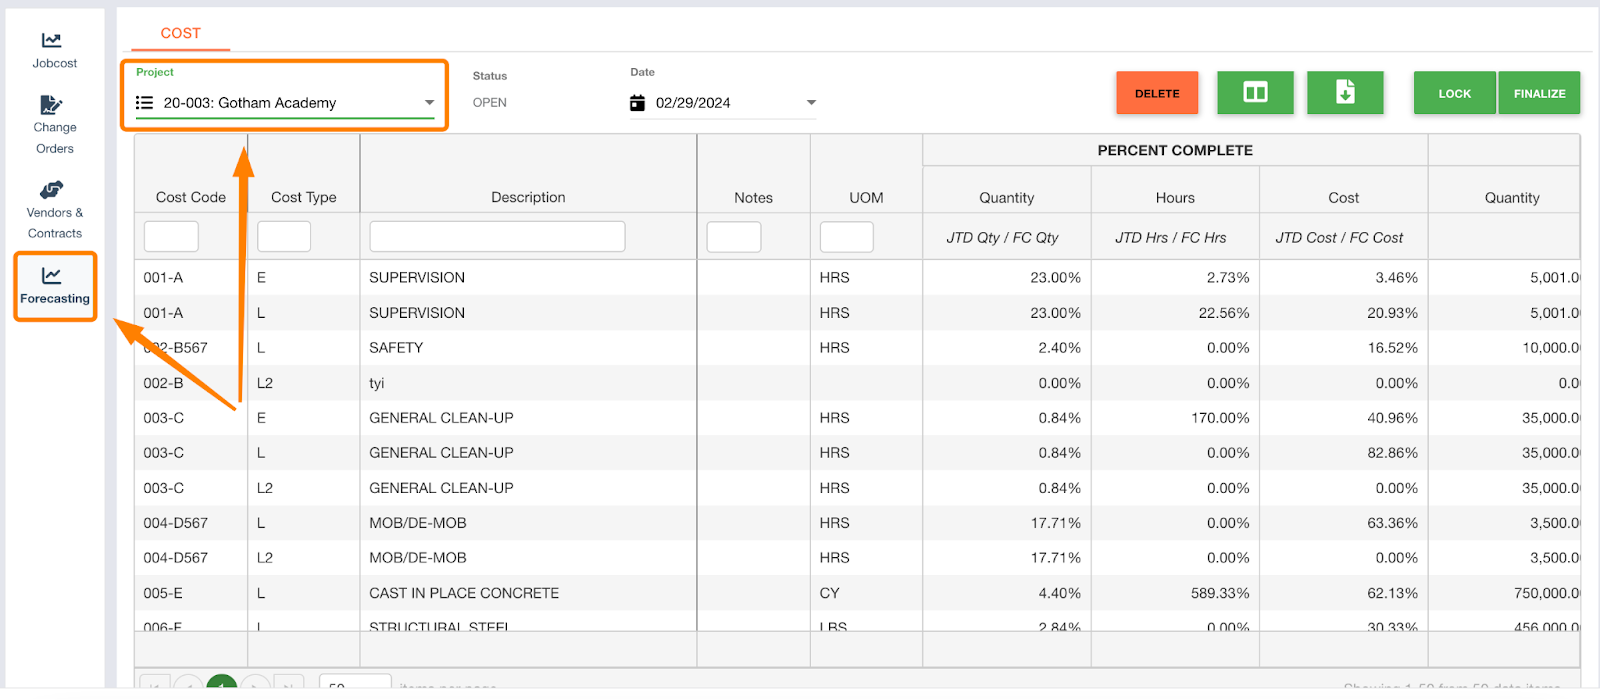
Job Cost
-
Open the Job Cost module
-
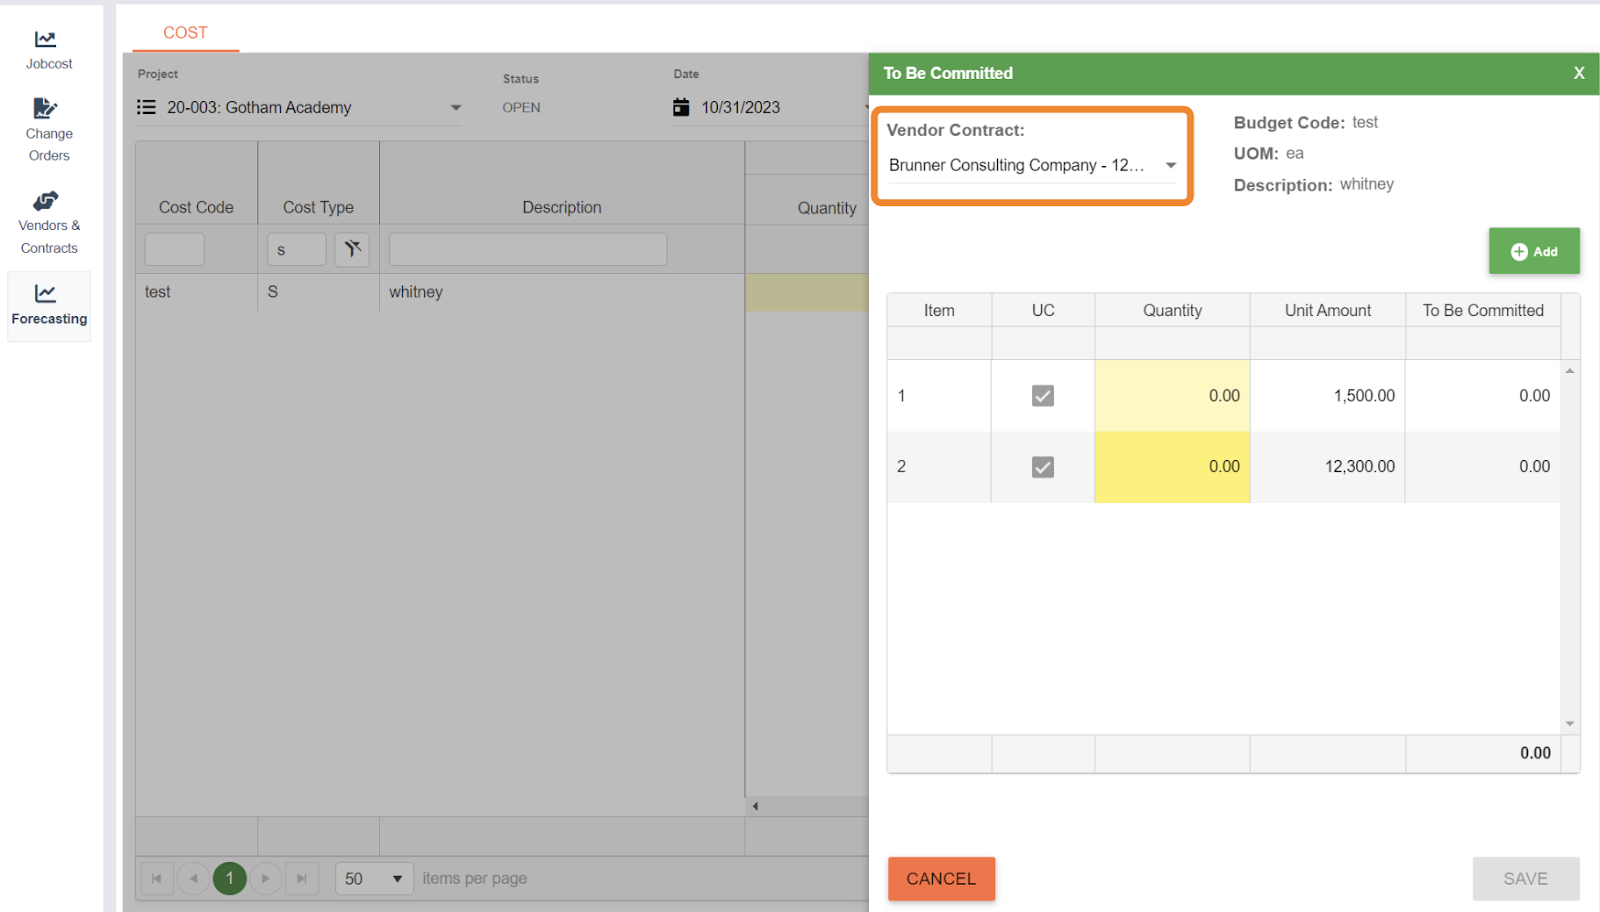
Click on the forecasting tab and choose desired project
-
For an “S” or subcontractor cost type, click into the “To Be Committed” cell related to that cost code/type. A side panel will open. Select a vendor contract, then click “add” to select the line items from the contract that are related to the selected cost code for which you want to include in the forecast. Enter the Quantity for each line item and then click “Save” to save the changes.